
How to Set Up a Clean, Well-Lit, and Safe Workspace for Painting, Detailing, or Repairs
- Jan 2, 2025
- 4 min read
Updated: Jan 5, 2025
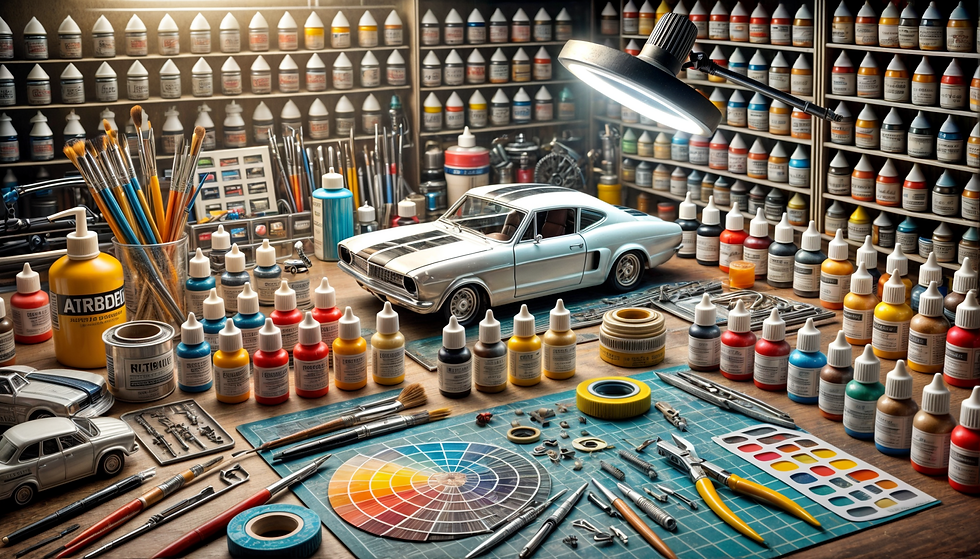
Creating a dedicated workspace for diecast car projects is a game-changer for both beginners and seasoned collectors. A well-organized, bright, and hazard-free area allows you to focus on painting, detailing, or repairs without distractions—or accidental damage to your precious models. Below are key considerations for establishing a workspace that encourages creativity and ensures personal safety.

1. Location, Location, Location
a. Dedicated Area
If possible, choose a quiet, low-traffic part of your home or garage. Having a specific spot for your projects prevents interruptions and keeps your tools and materials organized.
b. Work Surface
A sturdy table or workbench is essential to keep your diecast models level and secure.
Opt for a surface that’s easy to clean or that you don’t mind getting paint on.
Consider a bench-mounted vise or clamps to hold your model in place during delicate tasks.
c. Good Ventilation
Open Windows or Exhaust Fans: Solvent-based paints and adhesives produce fumes; a fan or open window can help circulate air.
Spray Booths: If you frequently use airbrushes or aerosol sprays, a portable spray booth with a built-in fan can capture overspray and remove harmful vapors.
2. Prioritizing Cleanliness and Organization
a. Dust Control
Dust can settle on wet paint and ruin a smooth finish. Use sealed containers or drawers for storing tools and materials.
Wipe down your work area with a damp cloth before starting a project to trap dust and debris.
b. Tool Storage
Keep brushes, paints, and miniature tools in labeled containers or drawers.
A pegboard or magnet strip on the wall can hold pliers, scissors, or other metal tools within easy reach.
c. Easy-to-Clean Surfaces
Cover your worktable with a removable surface like a cutting mat, silicone mat, or drop cloth to protect from paint spills and adhesives.
Make it a habit to tidy up after each session. Quick cleaning prevents buildup of dried paint or random debris.
3. Ensuring Adequate Lighting
a. Overhead Lights
Bright overhead lighting is a good starting point, but it’s not always sufficient for fine-detail work.
Consider adding multiple light sources to reduce shadows and improve visibility.
b. Task Lighting
A desk lamp with an adjustable arm provides focused illumination right where you need it.
LED bulbs (daylight-balanced, around 5,000K–6,500K) replicate natural light and provide true color rendering, helping you see paints and details accurately.
c. Magnification
For super-detailed tasks (like painting tiny logos or adding photo-etched parts), a lamp with a built-in magnifying glass or a separate magnifier headset can be invaluable.
4. Safety Essentials
a. Protective Gear
Respirator or Face Mask: When spraying paints or using solvents, use a mask rated for paint fumes (e.g., N95 or higher, or a respirator with organic vapor cartridges).
Safety Glasses: Protect your eyes from splashes when mixing paints, cleaning airbrushes, or using rotary tools.
Gloves: Nitrile or latex gloves keep paint, solvents, and adhesives off your skin and prevent fingerprints on your model.
b. Proper Ventilation
As mentioned, good airflow is critical. If you’re working indoors, make sure you have a window open, a fan running, or a spray booth to capture fumes.
Avoid working in a cramped space or in areas with poor air circulation.
c. Fire Safety
Solvent-based paints, thinners, and aerosols are highly flammable.
Store them in a cool, dry location away from direct heat sources (like heaters, stoves, or direct sunlight).
Keep a small fire extinguisher or fire blanket nearby, especially if you work in a garage with potential ignition sources.
d. Electrical Safety
Avoid overloading circuits with multiple power tools, compressors, and lights.
Use grounded outlets and check cords regularly for signs of wear or damage.
5. Additional Equipment and Helpful Extras
a. Compressed Air or Dust Blower
A can of compressed air or a small air blower is handy for blowing away dust and debris from small crevices without physically touching the model.
b. Cutting Tools and Mats
Hobby Knife/Scalpel: Perfect for trimming decals, removing flash from plastic parts, or cutting masking tape.
Self-Healing Cutting Mat: Protects your work surface and extends the life of your blades.
c. Storage for Parts and Projects
Keep small trays, plastic bins, or lidded containers on hand for holding parts during disassembly or while paint is drying.
Label containers to track multiple ongoing projects at once without mixing parts.
d. Disposal Bin and Recycling
Keep separate containers or bags for regular trash and recyclable materials (like cardboard boxes).
For chemical disposal (paint thinners, solvents), follow local regulations regarding hazardous waste.
6. Establishing Good Habits
Plan Your Steps: Before starting, outline the tasks for the session—priming, painting, drying—to minimize the number of times you have to handle the model.
Regular Breaks: If you’re working with paints or solvents, take short breaks to air out the space and step away from fumes.
Cleanup Routine: Clean brushes, wipe surfaces, and safely store all paints and tools after each session. A consistently tidy workspace makes every new project smoother.
Final Thoughts
A clean, well-lit, and safe workspace is the backbone of any successful diecast customizing project. By investing time and effort into organizing your environment, you’ll protect both your models and your own health. Whether you’re painting a fresh coat, adding custom details, or making repairs, having a dedicated, comfortable area is essential for bringing your creative visions to life—free from the frustrations of dust, dim lighting, or harmful fumes. Here’s to more enjoyable and efficient building sessions in your new, optimized workspace!


Comments