
Diecast Photography 101: How to Capture Your Models Like a Pro
- Jan 2, 2025
- 5 min read
Updated: Jan 5, 2025
Photographing diecast model cars can be a rewarding way to showcase your collection. Whether you're capturing the details of a vintage Ferrari or the rugged design of a classic American muscle car, a well-shot photo can bring your models to life. However, diecast photography requires some specific techniques to get the best results. This guide will walk you through everything you need to know about lighting, angles, backgrounds, and camera settings to help you capture your diecast cars like a pro.

1. Setting Up Your Space
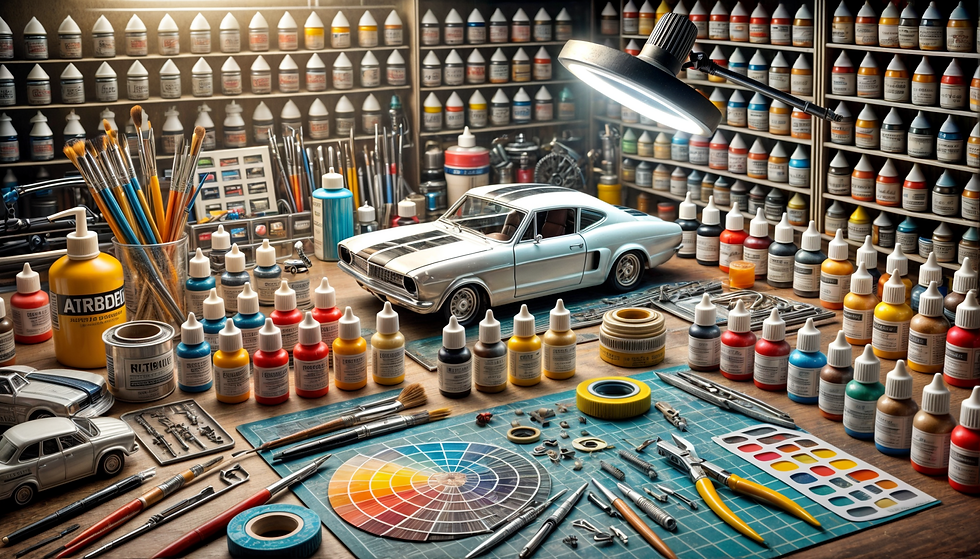
Creating a dedicated space for diecast photography will improve your photos and make the process easier. You don’t need a professional studio; a small table in a well-lit room can work wonders. Here’s how to set up an ideal space:
Backdrop: A clean, uncluttered backdrop keeps the focus on your model. Use a simple white or black background to help your model stand out. A piece of poster board or a cloth backdrop can work well.
Surface: A flat, non-reflective surface, like a mat or a tabletop, will provide a clean base for your model. For a more dynamic look, try surfaces that add context, like a wood slab for a vintage model or concrete for an industrial look.
Lighting: Natural light is ideal, especially near a window during the golden hours (early morning or late afternoon). If you’re using artificial lights, place them on either side of your model to avoid harsh shadows.
2. Mastering Lighting Techniques
Lighting is one of the most critical aspects of photography, and it’s especially true with diecast models. Since these models are smaller, lighting issues like reflections, glare, and shadows become more noticeable. Here are some lighting tips to consider:
Natural Light: If possible, use natural light from a window. It provides a soft, even glow that works great for capturing details without harsh shadows.
Softbox Lighting: For indoor setups, invest in softbox lights or LED panels to soften the light and minimize reflections. Place them at an angle to avoid casting reflections directly onto your model’s surface.
Reflectors: Use reflectors or white foam boards to bounce light onto areas of the model that are too dark. Position them on the opposite side of your light source to fill in shadows and create a balanced look.
Avoid Direct Flash: Avoid using direct flash, as it creates harsh lighting and reflections. Instead, if you’re using a flash, try diffusing it by bouncing it off a wall or using a softbox.
3. Choosing the Right Angles
The angle from which you photograph your model can greatly impact the final image. Certain angles highlight the car’s unique lines, while others may bring out specific details like the interior or wheels.
Eye-Level Shots: Shooting at the model’s eye level can make it appear life-sized and add realism. Position the camera at the same height as the car’s grille for the best results.
Low-Angle Shots: Taking a photo from below the model emphasizes its design, making it look more imposing. This is a popular technique for photographing powerful cars, like muscle cars or SUVs.
Top-Down Shots: A top-down shot is excellent for highlighting details on the roof and hood. This angle can work well for capturing decals, paint jobs, or any special features on the top of the car.
Three-Quarter View: This classic angle captures the front and one side of the car, giving viewers a sense of depth and perspective. It’s one of the best angles to showcase a model’s entire design.
Experiment with different angles, and don’t be afraid to try creative shots. Sometimes, a unique perspective can bring out details that are otherwise overlooked.
4. Using the Right Camera Settings
Your camera settings will significantly affect the outcome of your photos, whether you’re using a smartphone or a DSLR. Understanding how to adjust focus, aperture, ISO, and shutter speed is essential for capturing diecast models.
Aperture: Use a wide aperture (small f-number) to create a shallow depth of field. This keeps your model in focus while blurring the background, adding a professional touch.
ISO: Keep your ISO setting as low as possible to avoid grainy images. An ISO of 100 or 200 is ideal in good lighting conditions.
Shutter Speed: Use a slower shutter speed if you have stable lighting and a tripod. This helps capture more light and produces a sharp image. For handheld shots, a faster shutter speed (1/60 or higher) will reduce blur.
Manual Focus: For more control, use manual focus. Focus on the car’s most prominent feature, like the grille or headlights, to ensure sharpness where it matters most.
5. Composing the Perfect Shot
Composition refers to how elements in a photo are arranged, and it’s key to making your model stand out. Here are some tips to enhance your compositions:
Rule of Thirds: Imagine dividing your frame into a 3x3 grid and position the car along these lines or at their intersections. This technique draws the viewer's eye and creates balance in the image.
Foreground and Background: Add objects in the foreground or background to add depth. For example, use other model accessories, like miniature tools or a scale gas pump, to tell a story.
Lead Lines: Use lines in your background or props that lead the viewer's eye towards your model. This can be a road or any linear element that frames your model.
Negative Space: Don’t fill the entire frame; leave some empty space around the model to give it room to “breathe.” This makes the car the focal point of the image.
6. Editing Your Photos
Editing enhances your photos and brings out the best qualities of your models. Basic edits like brightness, contrast, and saturation adjustments can make a world of difference. Here’s a rundown of useful edits:
Brightness and Contrast: Increase brightness and contrast to make the details pop. Adjust these settings sparingly to avoid overexposure.
Saturation and Color Correction: Slightly increase saturation to make colors more vibrant. For a vintage look, reduce saturation or add a sepia filter.
Sharpening: Use sharpening tools to bring out finer details, especially in the headlights, tires, and other small elements.
Remove Reflections: Reflections on glossy surfaces are common in diecast photography. Use an editing tool like Photoshop or Lightroom to carefully remove any unwanted glare.
Remember, less is more. Subtle adjustments will make your photos look polished without making them appear overly processed.
7. Showcasing Your Collection
Once you’ve captured stunning photos of your diecast cars, think about how you’ll display them. Create an online portfolio or start an Instagram page to showcase your work. If you’re posting on social media, add descriptive captions and hashtags like #DiecastPhotography, #ModelCars, and #CollectorsOfInstagram to reach a broader audience. Engaging with other collectors online is a fantastic way to share your passion and discover new models.
Consider printing your photos as well. High-quality prints can make great additions to your display space and allow you to enjoy your models in a different format. You might even want to make a photo book to catalog your collection over time.
8. Experiment and Have Fun
Diecast photography is as much about creativity as it is about technique. Experimenting with different setups, backgrounds, and lighting styles will help you find your unique style. Try shooting at night with small lights, create outdoor scenes with props, or even mimic famous car ad shots. The possibilities are endless, and experimenting can lead to amazing results.
Final Thoughts: Bringing Your Diecast Models to Life
Photography can transform your diecast models from static collectibles into dynamic works of art. With the right lighting, camera settings, and a bit of creativity, you can capture photos that do justice to the craftsmanship and design of each model. Whether you’re sharing your shots on social media or framing them in your home, diecast photography is a fantastic way to appreciate and showcase your collection.
So set up your space, pick your favorite model, and start shooting. With these tips, you’ll be well on your way to capturing your diecast cars like a true professional!


Comments